Blazor - Adding Components to the Toolbox
Setup The Project
Follow the Getting Started guide to set up your Blazor Application with Smart UI.
Adding Components to the Toolbox
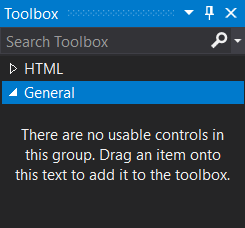
Visual Studio Toolbox can be opened by choosing View -> Toolbox or by pressing Ctrl + Alt + X. By default, the Toolbox for Blazor displays HTML Elements.
You can add Smart components for Blazor to the Toolbox by following this approach:
-
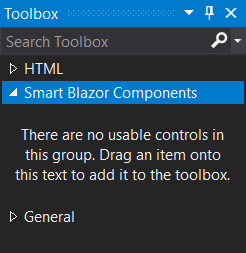
Right-click in the toolbox and select Add tab from the context menu. Then you can choose a name for the new tab, for example, Smart Blazor Components.
-
Open a razor file containing a Smart Blazor Component, for example Button. Select the component and drag-and-drop it to the Toolbox window.
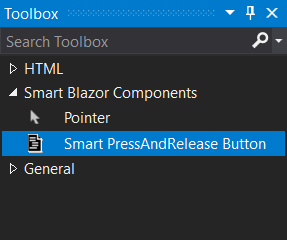
-
The Toolbox generates the item name based on the code. You can rename the item to make it more expressive. For example, Smart PressAndRelease Button.
-
You can then drag the new item from the Toolbox to the code editor for adding the component.