Using with Ionic Framework
This document provides a complete guide on how to build and use the Smart Angular Components with the Ionic Framework.
Prerequisities
- Node.js
- IDE (e.g. Visual Studio )
Setup development environment
-
Open the Command prompt/Terminal and run the following command line to install the ionic framework:
on Windows:
npm i ionic cordova
on Linux:
sudo npm i ionic cordova
-
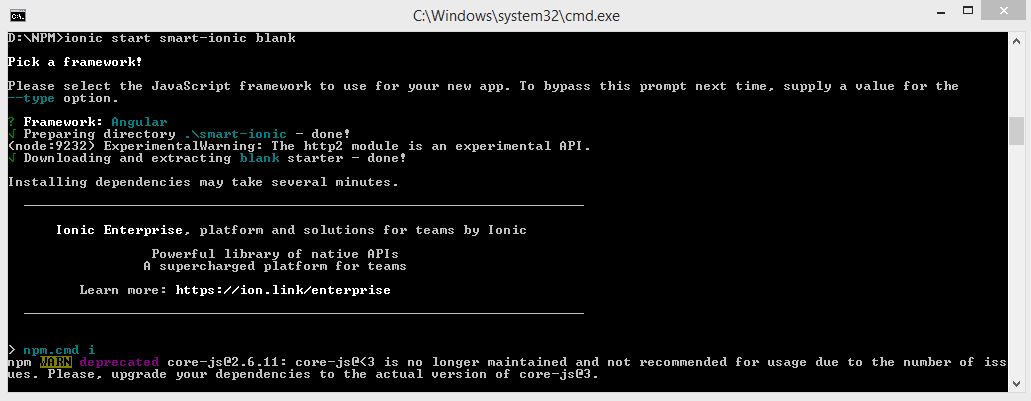
Run the following command in order to create a new blank application inside a new folder called smart-ionic:
ionic start smart-ionic blank
When prompted to select a framework pick Angular and press Enter to continue.
When finished, a new blank Ionic Project will be created in the smart-ionic folder.
Configure a Smart UI Component in the new application
-
Install the smart-webcomponents-angular npm package in the application folder. From inside the new folder - smart-ionic, type in the following command:
npm i smart-webcomponents-angular
-
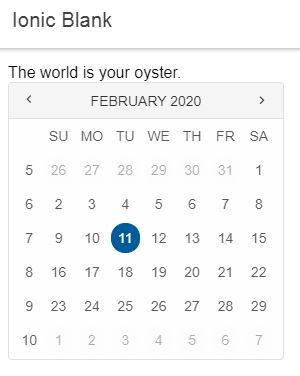
Add the smart-calendar component to the template of the application. Open the html file containing the template for the application located in smart-ionic/src/app/home/home.page.html and add the smart-calendar tag:
<ion-header>
  <ion-toolbar>
    <ion-title>
      Ionic Blank
    </ion-title>
  </ion-toolbar>
</ion-header>

<ion-content>
  <div class="ion-padding">
    The world is your oyster.
      <smart-calendar [weekNumbers]="weekNumbers"></smart-calendar>
  </div>
</ion-content>
We will also enable the week numbering of the Calendar component by adding the weekNumbers property bidning.
-
Set the weekNumbers property of the Calendar component in the home.page.ts located in smart-ionic/src/app/home/home.page.ts
import { Component } from '@angular/core'; @Component({ selector: 'app-home', templateUrl: 'home.page.html', styleUrls: ['home.page.scss'] }) export class HomePage { constructor() { } //Enable Calendar's week numbering weekNumbers: boolean = true; } -
Configure the home.module.ts file to include the UI Component in order for Angular to recognize it. The file is located in the same folder as the template - smart-ionic/src/app/home/home.module.ts
import { NgModule } from '@angular/core'; //Import the Calendar import { CalendarModule } from 'smart-webcomponents-angular/calendar'; @NgModule({ imports: [ CommonModule, FormsModule, IonicModule, CalendarModule, RouterModule.forChild([ { path: '', component: HomePage } ]) ], declarations: [HomePage] }) -
Configure Angular to import the Smart Web Components CSS from angular.json file located in the root directory of the application - smart-ionic:
{ "$schema": "./node_modules/@angular/cli/lib/config/schema.json", ... "projects": { "app": { ... "architect": { "build": { "builder": "@angular-devkit/build-angular:browser", "options": { ... "styles": [ ... { "input": "node_modules/smart-webcomponents-angular/source/styles/smart.default.css" } ] ... -
Run the application by opening a command promp from inside the root directory of the project by entering the following command:
ionic serve
The ionic server will run the application on localhost and a new tab will open in your browser to view the result: