Using Web Components with ASP .NET Blazor
Blazor is the newest Web UI Framework provided by Microsoft. In this page we will demonstrate how to use Smart Web Components and especially our Grid component with Blazor..
Blazor is a client-side hosting model for Razor Components. The component class is usually written in the form of a Razor markup page with a .razor file extension. The components can be nested and reused. More details can be found on the official site.
To use Blazor you will need .NET Core 3.0, Visual Studio 2019 16.3 or later.
Create a new Blazor Project
- Open Visual Studio 2019
- Open the Menu: File -> New -> Project
- Click the Project menu item
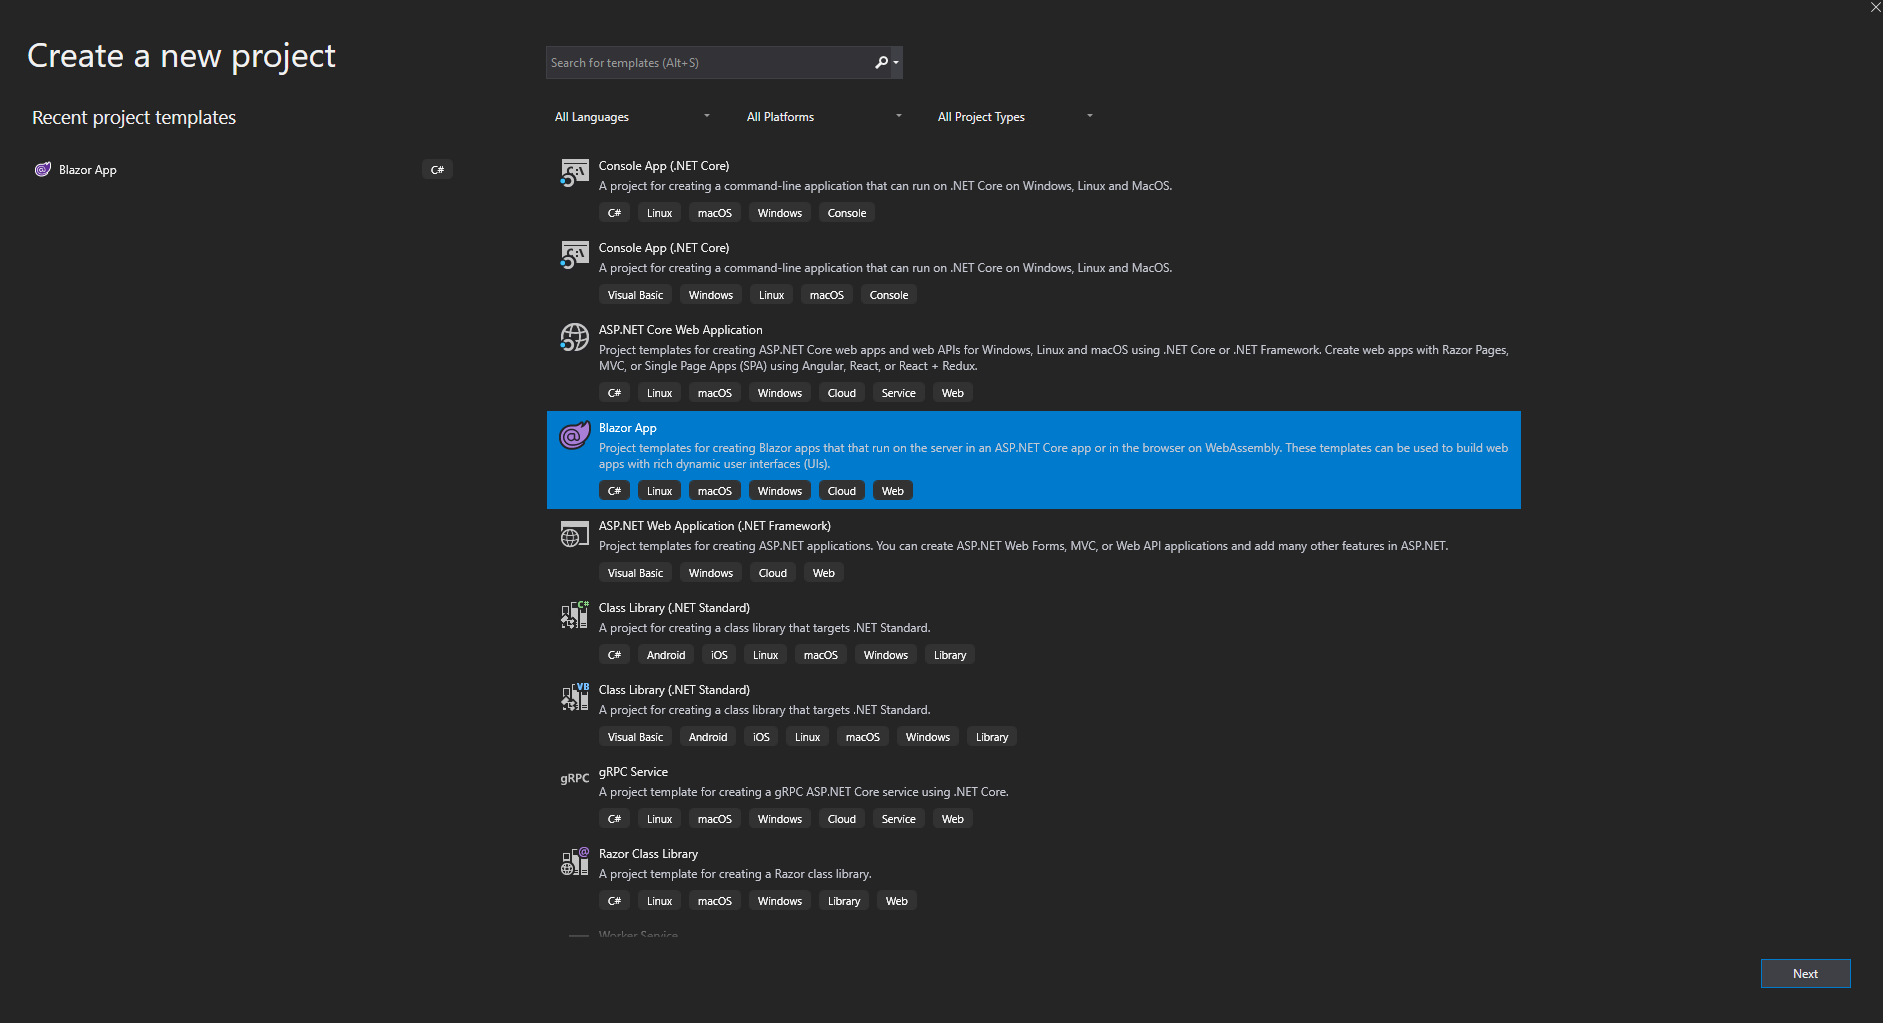
- Choose Blazor
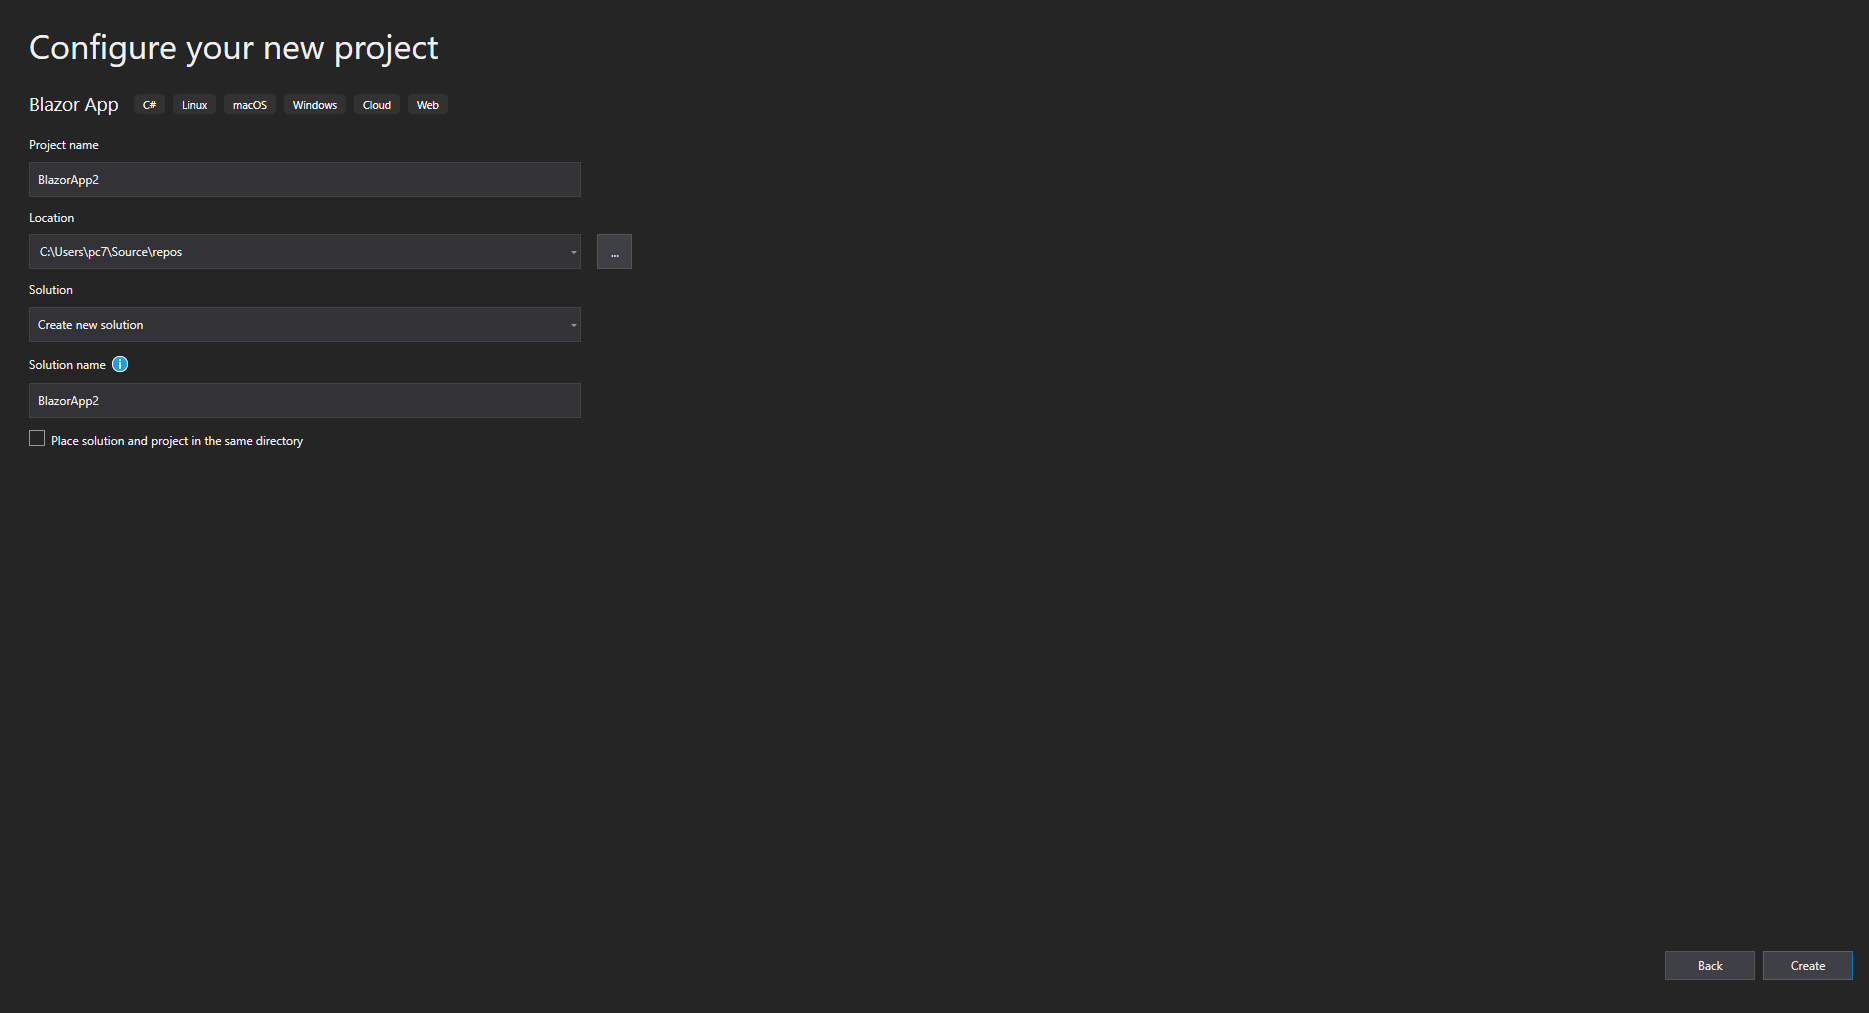
- Configure the Blazor App
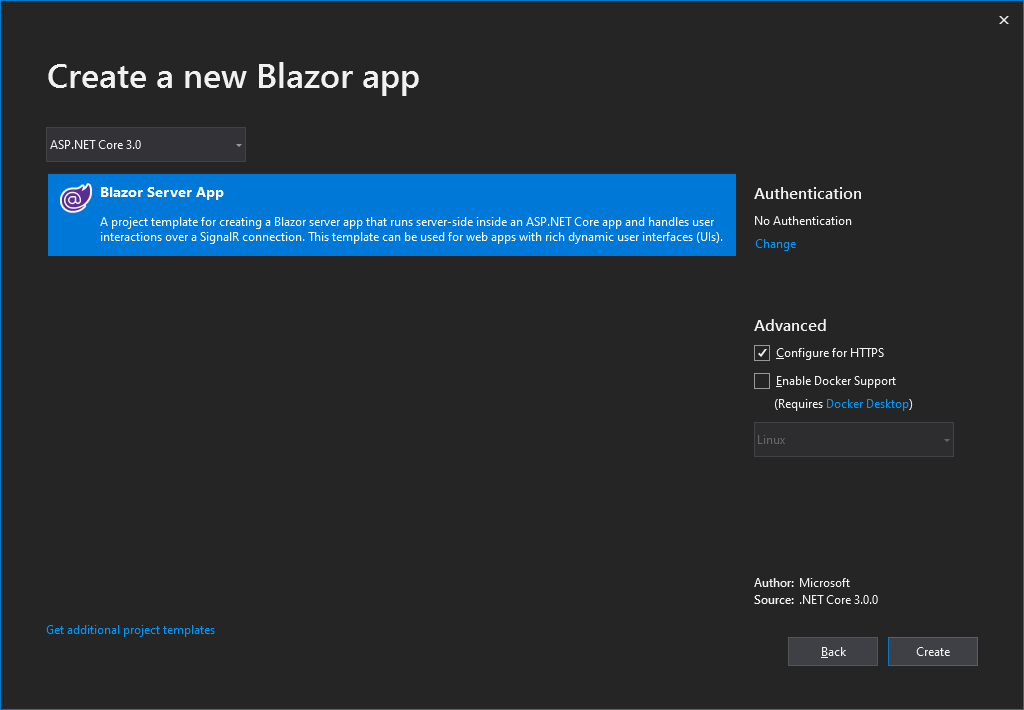
- Click the Create button
- Create a new Blazor App
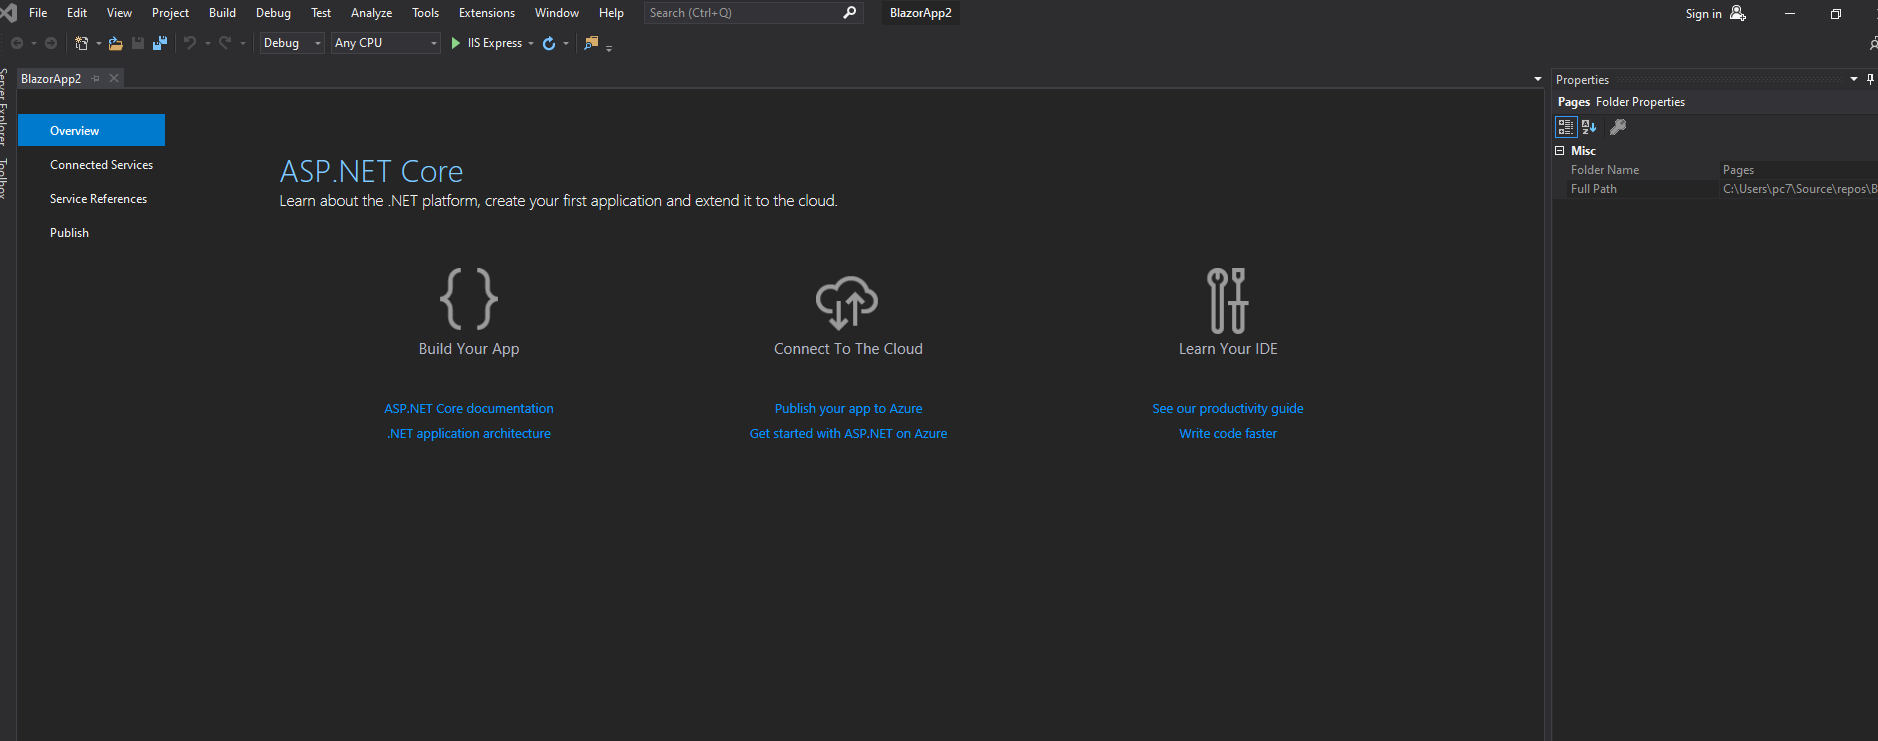
- Our application loooks like that:
Add Smart Web Components to Blazor
Create a new folder libs/smart/ inside the wwwroot folder. Then, copy-paste source folder from the smart html elements download package in the project. You can download it from the download page. Unzip the download package to get the source folder. It contains the web components Javascript and CSS files.
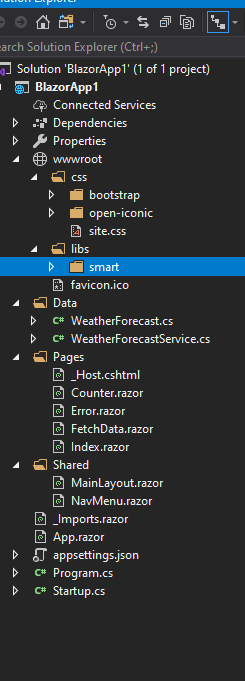
Refer the smart files in the _Host.cshtml file which is placed in the Pages folder.
CSS files:
- smart.default.css - it is the main file with styles for the Smart HTML Elements
The references that we include to the _Host.cshtml file are:
@page "/"
 @namespace BlazorApp1.Pages
 @addTagHelper *, Microsoft.AspNetCore.Mvc.TagHelpers
 <!DOCTYPE html>
 <html lang="en">
 <head>
   <meta charset="utf-8" />
   <meta name="viewport" content="width=device-width, initial-scale=1.0" />
   <title>BlazorApp1</title>
   <base href="~/" />
   <link rel="stylesheet" href="css/bootstrap/bootstrap.min.css" />
   <link href="css/site.css" rel="stylesheet" />
   <link rel="stylesheet" href="~/libs/smart/styles/smart.default.css" />
   <script type="module" src="~/libs/smart/modules/smart.grid.js"></script>
   <style>
     smart-grid {
       --smart-grid-row-height: 45px;
       width: 100%;
       height: auto;
     }
   </style>
   <script>
     (function (global) {
       global.createComponent = (selector, data) => {
         const grid = new smartGrid('#' + selector, {
           selection: {
             enabled: true
           },
           appearance: {
             showColumnHeaderLines: false,
             showColumnLines: false
           },
           sorting: {
             enabled: true
           },
           filtering: {
             enabled: true
           },
           dataSource: new Smart.DataAdapter({
             dataSource: data,
             dataFields: [
               'date: date',
               'summary: string',
               'temperatureC: number',
               'temperatureF: number'
             ]
           }),
           columns: [
             {
               label: 'Date', dataField: 'date', formatFunction(settings) {
                 return settings.value.toDateString();
               }
             },
             { label: 'Summary', dataField: 'summary' },
             { label: 'Temp. (C)', dataField: 'temperatureC' },
             { label: 'Temp. (F)', dataField: 'temperatureF' }
           ]
         })
       }
   })(window);
   </script>
 </head>
 <body>
   <app>
     @(await Html.RenderComponentAsync<App>(RenderMode.ServerPrerendered))
   </app>
   <script src="_framework/blazor.server.js"></script>
 </body>
 </html>
The createComponent function in the code above, creates a new instance of Smart.Grid. The data displayed in the Grid is from the WeatherForecast Web Service.
To call JavaScript in .NET, we use the IJSRuntime abstraction.
Edit the FetchData.razor. In FetchData.razor, we call the craeteComponent function and pass the Grid id and the forecasts array containing WeatherForecast objects.
@page "/fetchdata"
 @using BlazorApp1.Data
 @inject WeatherForecastService ForecastService
 <h1>Weather forecast</h1>
 <p>This component demonstrates fetching data from a service.</p>
 @if (forecasts == null)
 {
   <p><em>Loading...</em></p>
 }
 @code {
   WeatherForecast[] forecasts;
   protected override async Task OnInitializedAsync()
   {
     forecasts = await ForecastService.GetForecastAsync(DateTime.Now);
   }
 }
 @inject IJSRuntime JSRuntime
 <div id="@gridId"></div>
 @code {
   private string gridId = "smartGrid";
   protected override void OnAfterRender(bool firstRender)
   {
     if (firstRender)
     {
       JSRuntime.InvokeAsync<object>("createComponent", gridId, forecasts);
     }
   }
 }
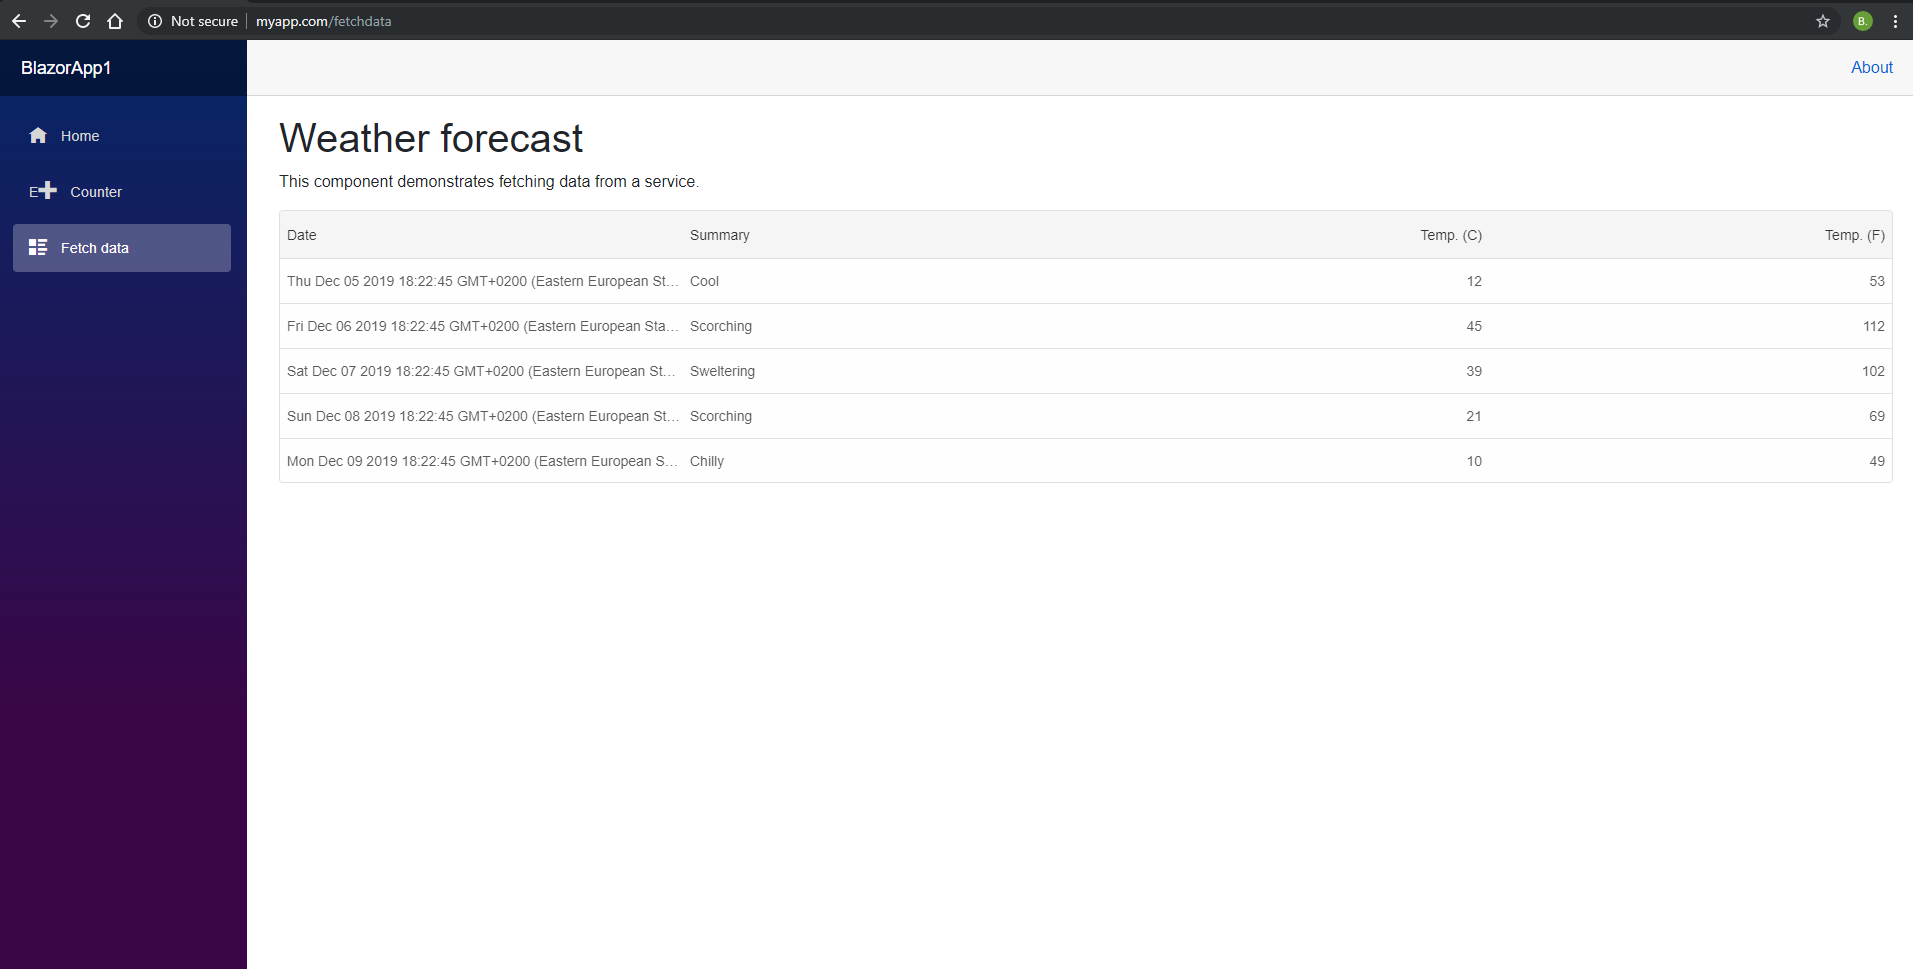
After running the project, you will see:
The Final Result:
