Using with StencilJS Framework
This document provides a complete guide on how to build and use the Smart with the StencilJS Framework.
Prerequisities
- Node.js
- IDE (e.g. Visual Studio Code )
Setup development environment
-
Create a new folder called stencil. From inside the folder open the Command prompt/Terminal and run the
following command line to install the StencilJS framework:
on Windows:
npm init stencil
on Linux:
sudo npm i stencil
-
When prompted for selection choose app ( we are going to create a simple application) and press Enter to continue.
? Select a starter project.

Starters marked as [community] are developed by the Stencil
Community, rather than Ionic. For more information on the
Stencil Community, please see github.com/stencil-community
› - Use arrow-keys. Return to submit.

❯   component          Collection of web components that can be
                       used anywhere
    app [community]    Minimal starter for building a Stencil
                       app or website
When finished, a new stencil Project will be created in the stencil folder.
Create a new StencilJS component
-
Install the smart-webcomponents npm package in the application folder. From inside the
project folder - stencil, type in the following command:
npm i smart-webcomponents
-
Create a new StencilJS component by running the following command from inside the project folder:
stencil generate my-first-component
The new component will be generated and placed inside the stencil/src/components.
my-first-component.tsx file hosts the definition of our new component. Here's the component definition:
import { Component, h, Prop } from '@stencil/core';
//Import Calendar Component
import "smart-webcomponents/source/modules/smart.window.js";

@Component({
  tag: 'my-first-component',
  styleUrl: 'my-first-component.css'
})

export class MyFirstComponent {

  // Window Label property binding
  @Prop() label: string;

  render() {
    return (
      <smart-window label={this.label} opened window-parent="body"></smart-window>
    );
  }
}
Here we have a simple StencilJS component called my-first-component that contains a Smart.Window component inside it's template with a property called label which is directly binded to the label property of the Window component. The opened property of the Smart.Window component indicates that we want an opened window and window-parent indicates the parent of the window when the component is added to the DOM.
Notice that we import the Smart.Window component at the top of the file.
-
Add the new component to the stencil/index.html page in order to view the component:
<body> <my-first-component label="Stencil Window Component"></my-first-component> </body> -
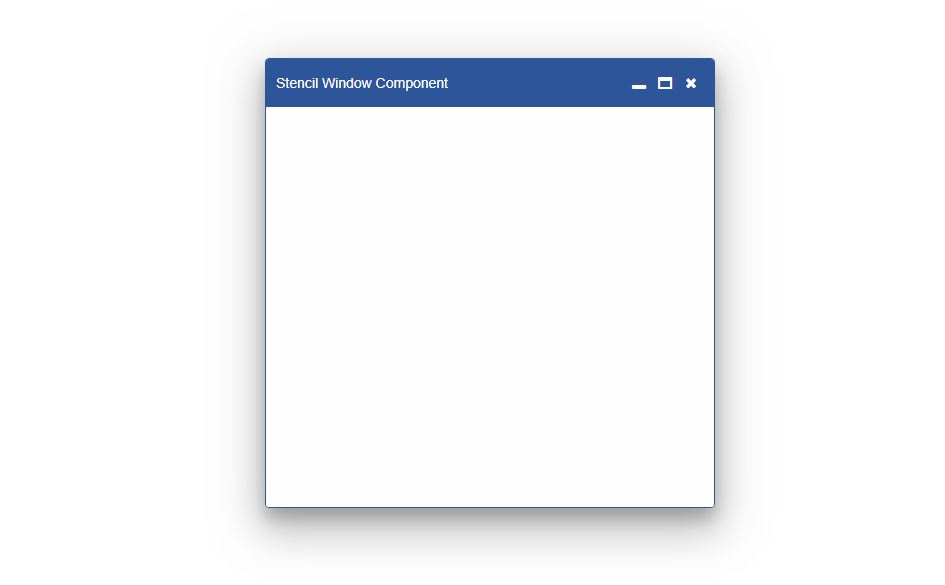
Run the application by opening a command promp from inside the root directory of the project and entering the
following command:
npm start
The StencilJS server will run the application on localhost:3333 and a new tab will open in your browser to view the result: