Getting Started with Smart Elements library and VueJS Framework with Routing
This document provides a complete guide on how to build and use the Smart Elements library with the VueJS Framework.
Prerequisities
- Node.js
- IDE (e.g. Visual Studio )
Setup development environment
-
Install the VueJS package with the global flag by typing in the following command:
npm i @vue/cli -g
After the process is completed, VueJS will be successfully installed globally on your computer.
-
Create a new VueJS project with the following command:
vue create smart-vue
-
Press Enter to select the default settings when a prompt to select a preset appears.
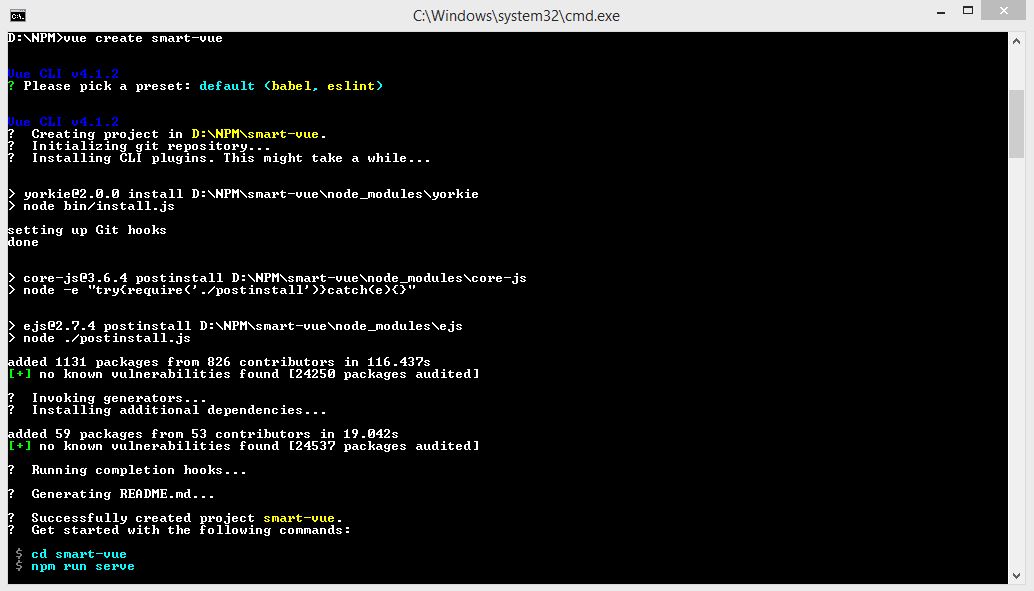
When the process is finished a new folder with the name smart-vue will be created.
-
Configure a Smart element in the new application
Open a new command prompt inside the newly created project - smart-vue.
-
Install the VueRouter dependency by entering the following command line:
npm i vue-router
Since we will be using it in a module system we must import and explicitly install the router via Vue.use() in the App.vue file later.
-
Install the Smart Elements Library by entering the following command:
npm i @smarthtmlelements/smart-elements
-
Configure main.js located in smart-vue/src/main.js to ignore the custom elements defined outside of Vue (e.g., using the Web Components APIs). Otherwise, it will throw a warning about an Unknown custom element, assuming that you forgot to register a global component or misspelled a component name.
The main.js file should contain the following in order to ignore the Splitter element since we will be using it:
import Vue from 'vue' import App from './App.vue' Vue.config.productionTip = false Vue.config.ignoredElements = [ 'smart-splitter' ] new Vue({ render: h => h(App), }).$mount('#app') -
Configure the application components by opening App.vue located in the same folder (smart-vue/src/App.vue).
-
First we set the template for the application.
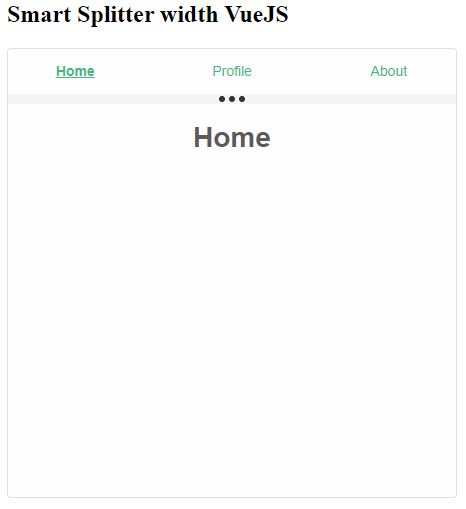
<template>
<div>
    <h2>Smart Splitter width VueJS</h2>
    <smart-splitter id="splitter">
      <smart-splitter-item size="10%">
        <nav>
            <router-link :to="{ name: 'home' }" exact>Home</router-link>
            <router-link :to="{ name: 'profile' }">Profile</router-link>
            <router-link :to="{ name: 'about' }">About</router-link>
        </nav>
      </smart-splitter-item>
      <smart-splitter-item>
        <div>
          <router-view></router-view>
        </div>
      </smart-splitter-item>
    </smart-splitter>
</div>
</template>
The application will contain a Splitter with two items. The first item will hold three router-links while the second will have the content of each link which will be dynamically loaded using a router-view.
-
Add the imports for Smart Elements Javascript and CSS inside the script section and the VueRouter in order to use them later:
...

<script>
import "@smarthtmlelements/smart-elements/source/styles/smart.default.css";
import '@smarthtmlelements/smart-elements/source/modules/smart.splitter.js'

import Vue from 'vue'

//Import the VueRouter
import VueRouter from 'vue-router'
The path to SmartHTMLElements references the npm package that was previously downloaded, located in the node_modules folder of the project.
-
Define the templates for the views and configure a VueRouter:
...
//Install the router
 Vue.use(VueRouter)

 const Home = {
   template: `<h1>Home</h1>`,
}

const Profile = {
  template: `<h1>Profile</h1>`
}

const About = {
  template: `<h1>About</h1>`
}

//Create the router instance with routes for the links
const routes = [
  { path: '/', name: 'home', component: Home },
  { path: '/profile', name: 'profile', component: Profile },
  { path: '/about', name: 'about', component: About },
]

//Initialize the router
const router = new VueRouter({
	routes
})
"Home", "Profile" and "About" constants hold the templates for the views that will be displayed when the router-link has been clicked.
-
Export the component, inject the router and configure the Splitter:
...

export default {
  name: 'app',
  router,
    mounted: function() {
      window.Smart(
    "#splitter", class {
     get properties() {
           return {
              orientation: 'horizontal'
            }
           }
           });
    }
}
</script>
Splitter settings can be applied inside the mounted callback.
-
Include additional styles for the application:
...

<style>
    nav {
        width: 100%;
        height: 100%;
        display: grid;
        grid-template-columns: repeat(3, 30%);
        align-items: center;
        justify-content: center;
        grid-column-gap: 5%;
    }

        nav a {
            color: #41b883;
            text-decoration: none;
            text-align: center;
        }

            nav a.router-link-active {
                font-weight: bold;
                text-decoration: underline;
            }


    h1 {
      text-align: center;
    }

    smart-splitter {
        /* Splitter styles */
    }
</style>
-
First we set the template for the application.
-
Create and configure a vue.config.js file inside the root directory of the project (smart-vue). The file should contain the following settings:
module.exports = { runtimeCompiler: true, publicPath: './' }- runtimeCompiler enables template compiling during runtime-only builds.
- publicPath configures the base path for the file references in the production build. (By default it is configured for server relative paths)
-
Build the application with the following command from inside the root of the project folder:
npm run build
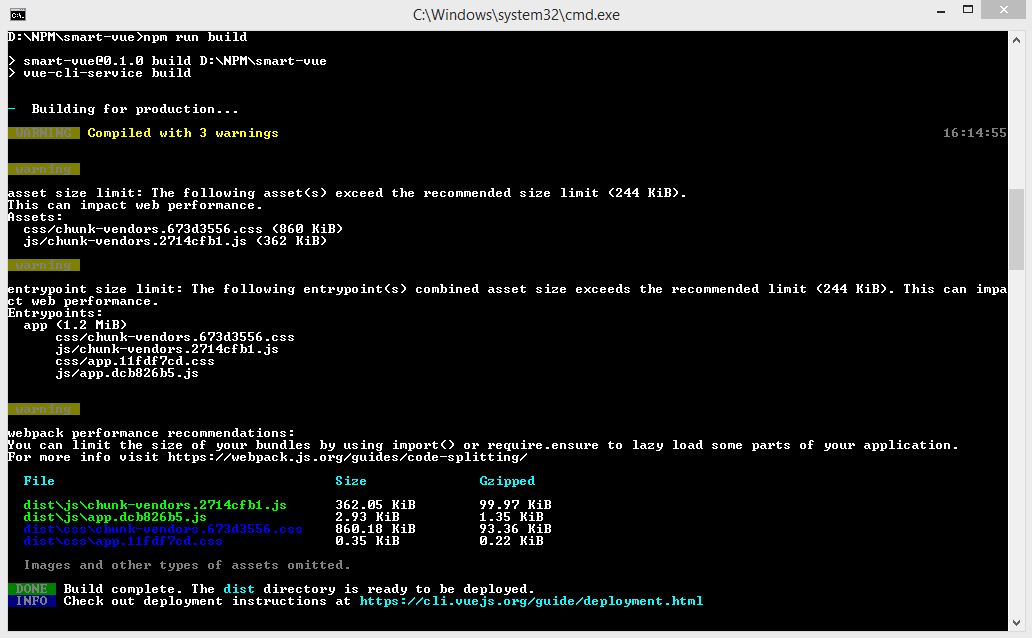
A new folder called dist will be created at the root of the project folder. It contains the production build of the application.
Open the index.html file inside a browser