Gantt Chart - Custom Timeline Header
The guide below details how to implement a Custom Timeline Header for Gantt Chart in Blazor.
To implement a Custom Timeline Header, we need to be able to directly set event listeners, enable/disable buttons and perform other DOM operations on non-Blazor elements.
For this reason, we will be using JS interop - a Blazor tool, which can invoke JavaScript (JS) functions from .NET methods and .NET methods from JS functions.
- First, create a basic Gantt Chart with multiple tasks:
@page "/"
@using System.Text.Json.Serialization;
<GanttChart @ref="gantt" DataSource="@Records"/>
@code {

    public partial class GanttDataRecord
    {

        [JsonPropertyName("label")]
        public string Label
        {
            get;
            set;
        }

        [JsonPropertyName("dateStart")]
        public string DateStart
        {
            get;
            set;
        }

        [JsonPropertyName("dateEnd")]
        public string DateEnd
        {
            get;
            set;
        }

        [JsonPropertyName("type")]
        public string Type
        {
            get;
            set;
        }

        [JsonPropertyName("duration")]
        public int Duration
        {
            get;
            set;
        }
    }

    GanttChart gantt;

    public List<GanttDataRecord> Records;
    protected override void OnInitialized()
    {
        Records = new List<GanttDataRecord>()
        {
            new GanttDataRecord{
            Label = "Develop Website",
            DateStart = "2021-01-01",
            DateEnd = "2021-01-20",
            Type = "task"
        },
        new GanttDataRecord{
            Label = "Marketing Campaign",
            DateStart = "2021-01-05",
             DateEnd = "2021-01-15",
            Type = "task"
        },
        new GanttDataRecord{
            Label = "Publishing",
            DateStart = "2021-01-10",
             DateEnd = "2021-01-26",
            Type = "task"
        },
        new GanttDataRecord{
            Label = "Find clients",
            DateStart = "2021-01-12",
             DateEnd = "2021-01-25",
            Type = "task"
        }
        };
    }

}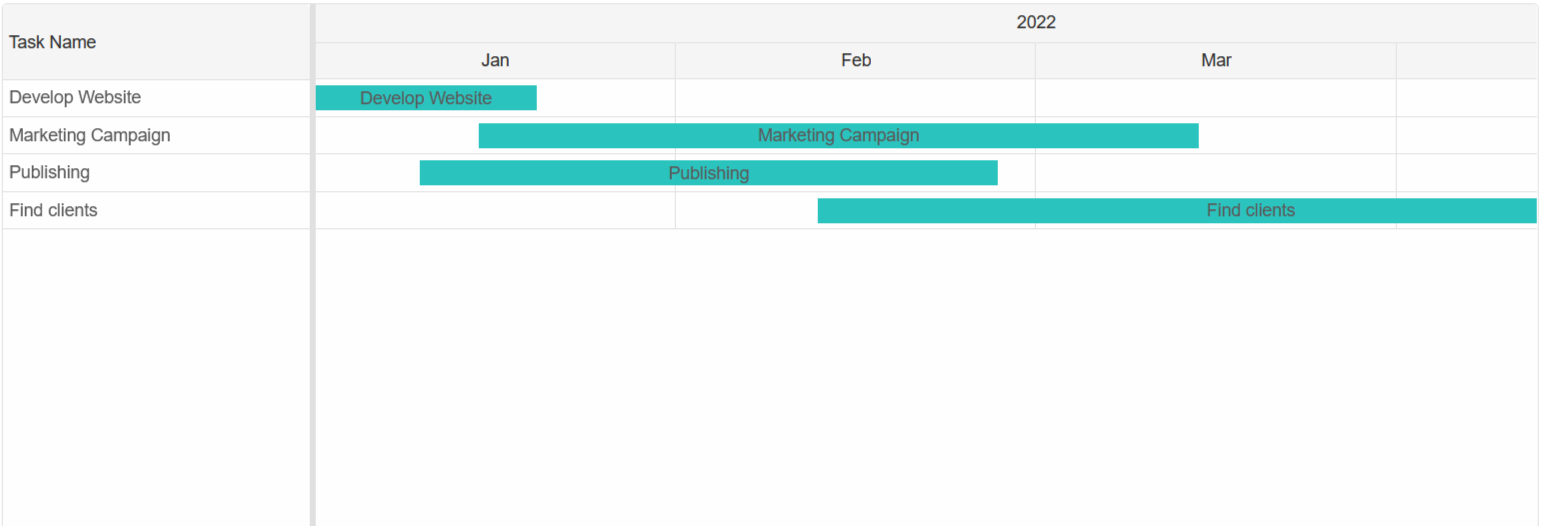
-
Next, we need to create the HTML of the Custom Timeline Header and set its id to the
headerTemplateproperty of the Gantt Chart:<GanttChart @ref="gantt" DataSource="@Records" HeaderTemplate="templateId" /> <template id="headerTemplate"> <div class="header-controls"> <div class="zooming"> <smart-button id="zoomIn"><i class="material-icons">zoom_in</i></smart-button> <smart-button id="zoomOut"><i class="material-icons">zoom_out</i></smart-button> </div> <div class="resource-view"> <smart-button id="view">Show Resource View</smart-button> </div> <div class="actions"> <smart-button id="undo" disabled><i class="material-icons">restore</i></smart-button> <smart-button id="redo" disabled><i class="material-icons">update</i></smart-button> </div> </div> </template> @code{ string templateId = "headerTemplate"; .... } -
Finally, we need to add the CSS for the Custom Timeline Header:
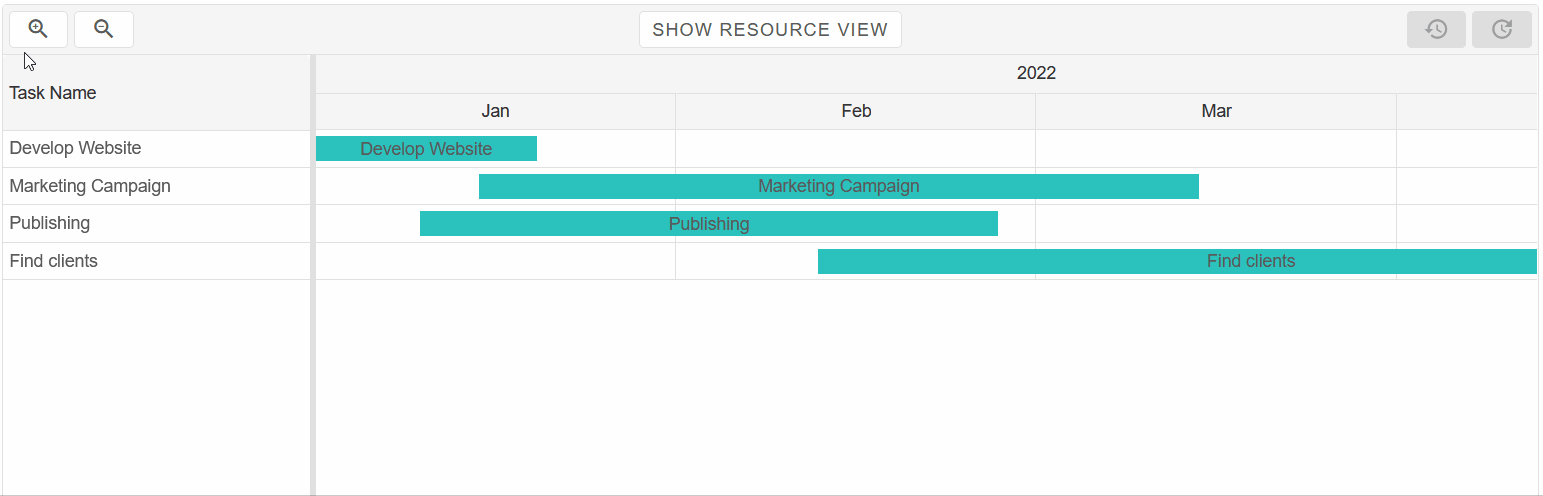
@font-face {
    font-family: 'Material Icons';
    font-style: normal;
    font-weight: 400;
    src: url(https://fonts.gstatic.com/s/materialicons/v31/2fcrYFNaTjcS6g4U3t-Y5ZjZjT5FdEJ140U2DJYC3mY.woff2) format('woff2');
}

.material-icons {
    font-family: 'Material Icons';
    font-weight: normal;
    font-style: normal;
    font-size: inherit;
    line-height: 1;
    letter-spacing: normal;
    text-transform: none;
    display: inline-block;
    white-space: nowrap;
    word-wrap: normal;
    direction: ltr;
    -webkit-font-feature-settings: 'liga';
    -webkit-font-smoothing: antialiased;
    font-size: 21px;
}

smart-gantt-chart {
    height: auto;
    --smart-gantt-chart-header-height: 40px;
}

.header-controls {
    height: 100%;
    display: grid;
    grid-template-columns: 100px 1fr 100px;
    grid-column-gap: 5px;
    overflow: hidden;
    padding: 5px;
    --smart-button-padding: 2.5px 10px;
}

.zooming,
.resource-view,
.actions {
    min-height: 0;
    height: 100%;
    display: flex;
    align-items: center;
}

.zooming,
.actions {
    justify-content: space-between;
    display: grid;
    grid-template-columns: 1fr 1fr;
    grid-column-gap: 5px;
}

.resource-view {
    justify-content: center;
}

.zooming smart-button,
.actions smart-button {
    width: auto;
    height: 100%;
}

.resource-view smart-button {
    width: auto;
    height: 100%;
    display: flex;
    justify-content: center;
    align-items: center;
}
We can see that the Timeline Header was integrated successfully, however all buttons are unresponsive.
- To implement the actions of each button, we must use JSInterop. First inject the IJSRuntime abstraction.
Then in the OnReady() callback, call the "setCustomHeader" JS function, which we will later create.@inject IJSRuntime JSInterop; <GanttChart @ref="gantt" DataSource="@Records" HeaderTemplate="templateId" OnReady="OnReady"/> @code{ ... private void OnReady(GanttChart ganttChart) { JSInterop.InvokeVoidAsync("setCustomHeader"); } } - Now, navigate to
Pages/_Host.cshtml(Blazor Server) orwwwroot/index.html(Blazor WebAssembly).
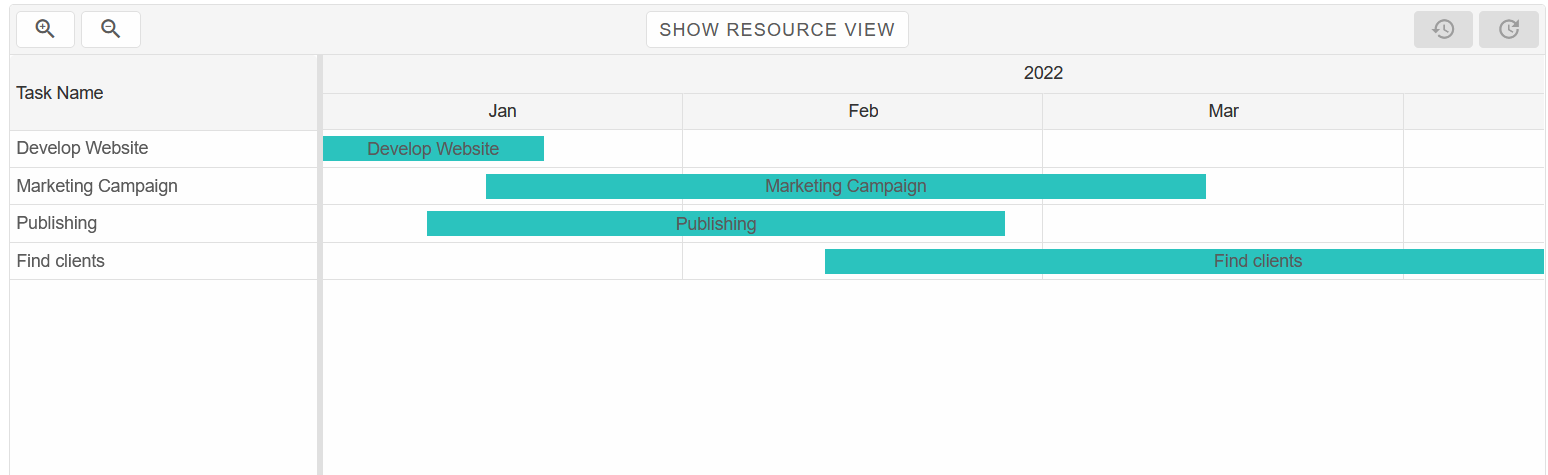
Create a <script></script> tag and paste the code below, which will create the "setCustomHeader" function:<script> (function (global) { global.setCustomHeader = function(){ const ganttChart = document.querySelector('smart-gantt-chart'), views = ['day', 'week', 'month', 'year']; let view, stateId = 0, states; function storeState() { stateId++; states[stateId] = ganttChart.getState(); document.getElementById('undo').disabled = false; } ganttChart.addEventListener('change', storeState); ganttChart.addEventListener('dragEnd', storeState); ganttChart.addEventListener('resizeEnd', storeState); ganttChart.addEventListener('progressChangeEnd', storeState); ganttChart.addEventListener('connectionEnd', storeState); states = { 0: ganttChart.getState() }; view = ganttChart.view; document.querySelector('.header-controls').addEventListener('click', function (event) { const button = event.target.closest('smart-button'); if (!button) { return; } switch (button.id) { case 'view': if (ganttChart.groupByResources) { ganttChart.groupByResources = false; button.innerHTML = 'show resource view'; } else { ganttChart.groupByResources = true; button.innerHTML = 'hide resource view'; } break; case 'zoomIn': case 'zoomOut': { const isZoomIn = button.id === 'zoomIn', maxValue = isZoomIn ? views[views.length - 1] : views[0]; ganttChart.view = view = (views[views.indexOf(view) + (isZoomIn ? -1 : 1) * 1] || maxValue); document.getElementById(isZoomIn ? 'zoomOut' : 'zoomIn').disabled = false; if ((isZoomIn && view === 'day') || (!isZoomIn && view === 'year')) { button.disabled = true; } break; } case 'undo': case 'redo': if (button.id === 'undo') { stateId -= 1; if (states[stateId]) { ganttChart.loadState(states[stateId]); document.getElementById('redo').disabled = false; } if (!states[stateId] || !states[stateId - 1]) { button.disabled = true; } } else { stateId += 1; if (states[stateId]) { ganttChart.loadState(states[stateId]); document.getElementById('undo').disabled = false; } if (!states[stateId] || !states[stateId + 1]) { button.disabled = true; } } stateId = Math.max(0, Math.min(Object.keys(states).length - 1, stateId)); return; } }); } })(window); </script> - Now we can see that the Custom Timeline Header is complete and all buttons have their actions attached: