Grid - Dynamic Template
The guide below details how to implement a Dynamic Template for Grid in Blazor.
To implement a Dynamic Template, we need to be able to directly set event listeners, set onclick actions and perform other DOM operations on non-Blazor elements.
For this reason, we will be using JS interop - a Blazor tool, which can invoke JavaScript (JS) functions from .NET methods and .NET methods from JS functions.
- First, create a basic Grid with multiple Events:
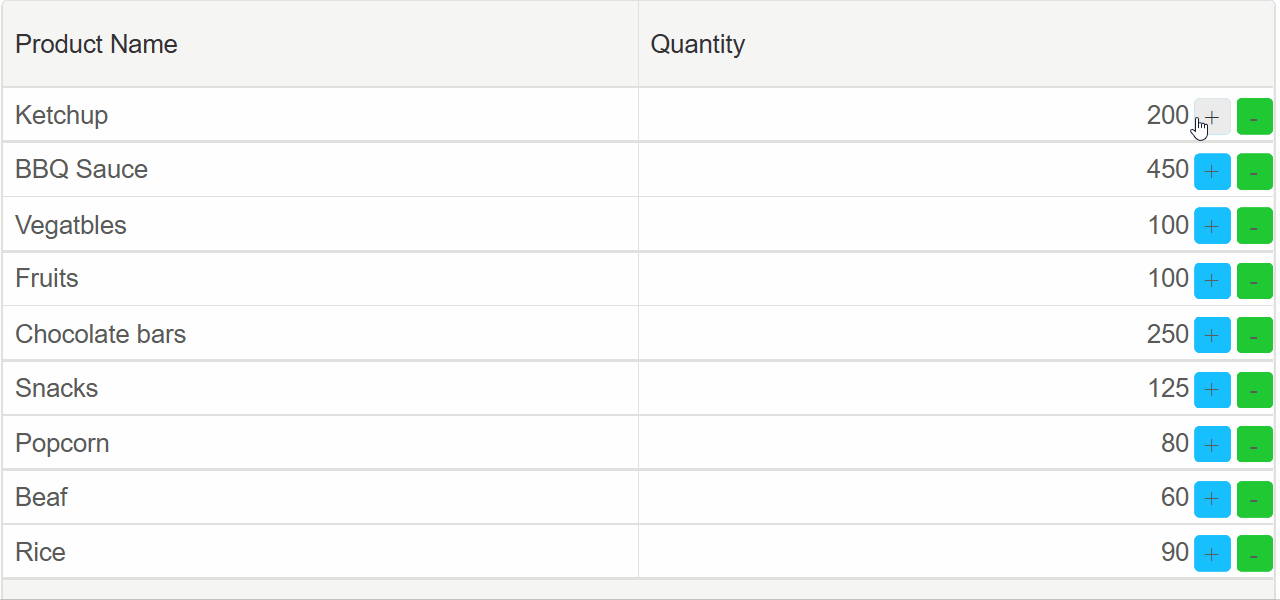
@page "/"

<Grid DataSource="@products">
    <Columns>
        <Column DataField="Name" Label="Product Name"></Column>
        <Column DataField="Quantity" Label="Quantity"></Column>
    </Columns>
</Grid>

@code {
    class Product
    {
        public string Name { get; set; }
        public int Quantity { get; set; }

        public Product(string name, int quantity)
        {
            Name = name;
            Quantity = quantity;
        }
    }

    Product[] products = new Product[]
    {
        new Product("Ketchup", 200),
        new Product("BBQ Sauce", 450),
        new Product("Vegatbles", 100),
        new Product("Fruits", 100),
        new Product("Chocolate bars", 250),
        new Product("Snacks", 125),
        new Product("Popcorn", 80),
        new Product("Beaf", 60),
        new Product("Rice", 90)
    };
}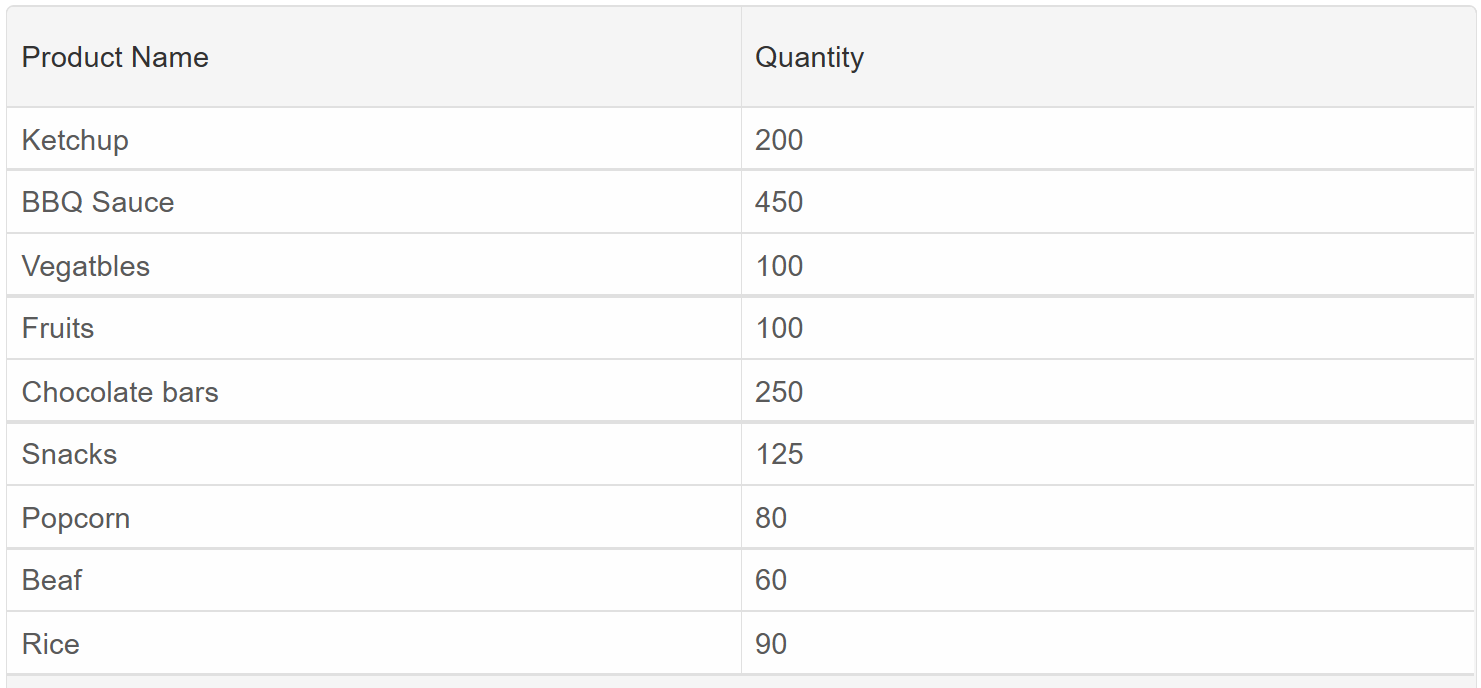
-
Next, we will create the HTML of the Dynamic Template and set its id to the
templateproperty of the Grid Column:<Grid DataSource="@products"> <Columns> <Column DataField="Name" Label="Product Name"></Column> <Column DataField="Quantity" Label="Quantity" Template="priceTemplate"></Column> </Columns> </Grid> <template id="price-template"> <div style="text-align: right"> {{value}} <smart-button class="plus-button">+</smart-button> <smart-button class="minus-button">-</smart-button> </div> </template> @code{ string priceTemplate = "#price-template"; .... } -
Finally, we need to add the CSS for the Dynamic Template:
smart-grid-cell smart-button {
    margin-left: 3px;
    width: 20px;
    height: 20px;
    color: #fff;
    border-radius: 3px;
    border: none;
    margin-top: -1px;
    font-family: 'FontAwesome' !important;
}

smart-grid-cell smart-button .smart-button {
    padding-left: 0px;
    padding-right: 0px;
    padding: 0px;
    justify-content: center;
    align-items: center;
    display: flex;
}

.plus-button{
        --smart-background: #18BFFF;
}

.minus-button{
        --smart-background: #20C933;
}
We can see that the template was integrated successfully, however the +/- buttons have no effect on the Grid.

- To make the template dynamic, we must use JSInterop. First inject the IJSRuntime abstraction.
Then in the OnReady() callback, call the "setDynamicTemplate" JS function, which we will later create.@inject IJSRuntime JSInterop; <Grid DataSource="@dataSource"></Grid> @code{ ... private void OnReady(Grid grid) { JSInterop.InvokeVoidAsync("setDynamicTemplate"); } } - Now, navigate to
Pages/_Host.cshtml(Blazor Server) orwwwroot/index.html(Blazor WebAssembly).
Create a <script></script> tag and paste the code below, which will create the "setDynamicTemplate" function.
This function will add event listeners to the +/- buttons and update the Grid's data source:<script> (function (global) { global.setDynamicTemplate = function (columnName, cities) { let grid = document.querySelector("smart-grid"); let quantityColumn = grid.getColumn('Quantity'); quantityColumn.template = function (formatObject) { if (!formatObject.template) { const data = document.createElement('span'); const plus = document.createElement('smart-button'); const minus = document.createElement('smart-button'); plus.classList.add('plus-button'); minus.classList.add('minus-button'); plus.innerHTML = '+'; minus.innerHTML = '-'; data.innerHTML = formatObject.value; plus.row = formatObject.row; minus.row = formatObject.row; plus.addEventListener('click', () => { const row = plus.row; row.getCell('Quantity').value += 5; }); minus.addEventListener('click', () => { const row = minus.row; row.getCell('Quantity').value -= 5; }); const template = document.createElement('div'); template.appendChild(data); template.appendChild(plus); template.appendChild(minus); template.style.textAlign = 'right' formatObject.template = template; } else { formatObject.template.firstChild.innerHTML = formatObject.value; const buttons = formatObject.template.querySelectorAll('smart-button'); buttons[0].row = formatObject.row; buttons[1].row = formatObject.row; } } } })(window); </script> - Now we can see that the Dynamic Template is complete and we can now change the quantity of the products by clicking on the buttons: