Build your web apps using Smart Custom Elements
Smart.Scheduler - Timetable
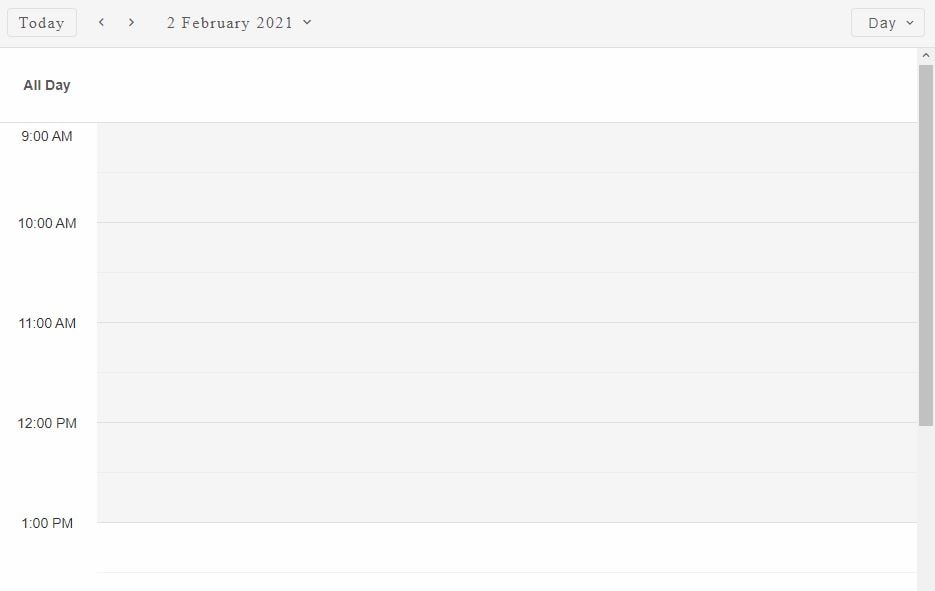
Smart.Scheduler Timetable
Smart.Scheduler Timetable can be customized via a number of properties:
- Current Date
- Timetable Start Hour
- Timetable End Hour
- Timeline Day Scale
- First Day Of Week
- Cell Template
- Resticted Dates
- Nonworking Days
- Nonworking Hours
Current Date
The dateCurrent property allows to set or change the currently visible date range. The property accepts a Date object or a valid date string.
Here is how to set it:
window.Smart('#scheduler', class {
    get properties() {
        return {
            //Properties
            dataSource: data,
            views: ['day', 'week'],
            dateCurrent: new Date(2021, 5, 10)
        };
    }
});
As a result of setting the dateCurrent property the Smart.Scheduler will display the events for 10th June 2021.
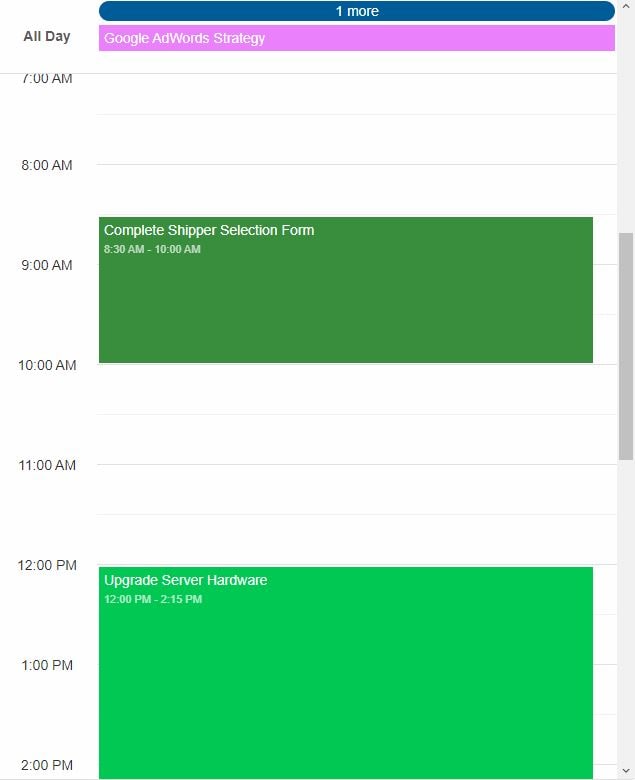
Timetable Start Hour
The hourStart property allows to set or change the default starting hour for the view. The property accepts a number which indicates the starting hour.
Here's how to set the property dynamically:
const scheduler = document.querySelector('smart-scheduler');

scheduler.hourStart = 9;
Timetable End Hour
The hourEnd property allows to set or change the default ending hour for the view. The property accepts a number which indicates the ending hour.
Here is how to set the property dynamically:
scheduler.hourEnd = 21;
Timeline Day Scale
The timelineDayScale property allows to set or change the day scale of the view. By default the timetable shows the time of the day by hours. This can be configured via the aforementioned property. The timetable can be devided into several time ranges:
- hour - the timetable is devided by hours.
- halfHour - the timetable is devided by 30 minutes.
- quarterHour - the timetable is devided by 15 minutes.
- tenMinutes - the timetable is devided by 10 minutes.
- fiveMinutes - the timetable is devided by 5 minutes.
The timelineDayScale property affects all views except 'agenda', 'month' and 'timelineMonth' views.
Here's how to set the property to have a day view that shows the days by 30 mins:
scheduler.timelineDayScale = 'halfHour';
Demo
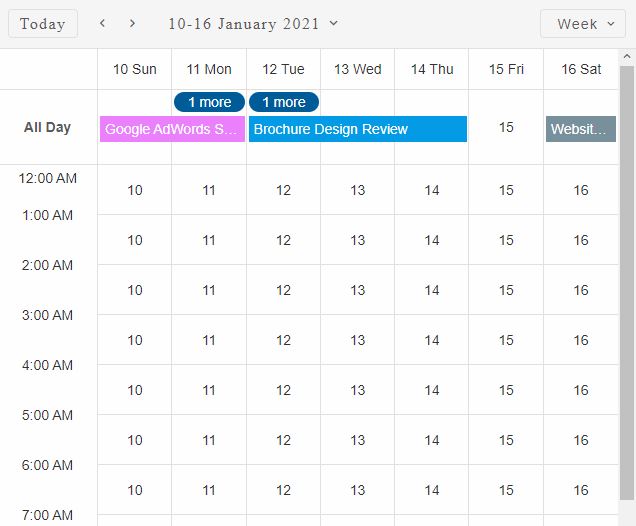
First Day Of Week
The firstDayOfWeek property allows to change the first day of the week. By default the first day of the week is 0 which is Sunday. In order to change the first day of the week simply set the property to the desired week day:
scheduler.firstDayOfWeek = 1;
Cell Template
The cellTemplate property allows to set custom content to the cell of a specific date (or all cells) - the date for the cell. The property accepts an HTMLTemplate element or a function. If set to a template element, the template can contain property bindings. Property bindings represent text surrounded by double curly braces, like so '{{property}}'. The Smart.Scheduler will replace those property bindings with the corresponding cell value which is a Date string.
Here is how to set a TemplateElement to the cellTemplate property:
<template id="cellTemplate">
    <label>{{date}}</label>
</template>
As a result the number of the date for the given cell will be displayed inside the cell.
Demo
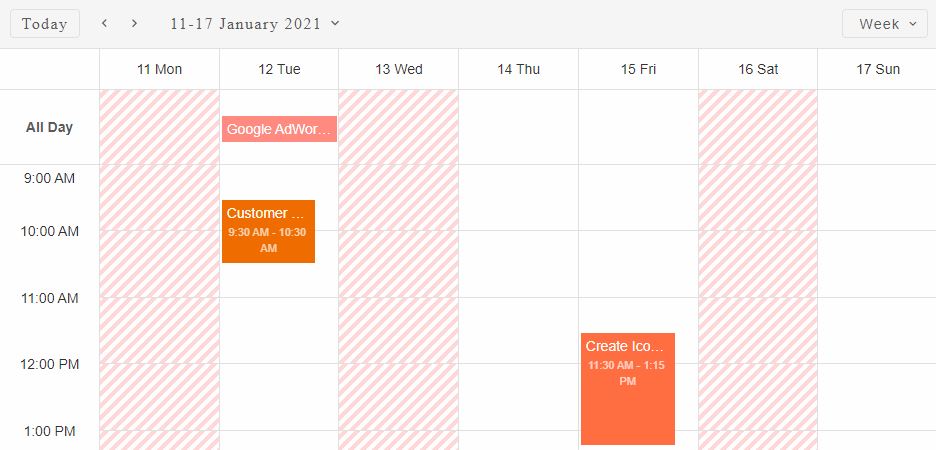
Restricted Dates
The restrictedDates property allows to define an array of dates that are not allowed to have events on. The cells inside the timetable that represent those dates are also colored with a striped background indicating that the cell is not allowed to have events. Events that start/end or last during a restricted date are not displayed.
Here is an example on how to set the restrictedDates property:
const today = new Date(),
    currentDate = today.getDate(),
    currentYear = today.getFullYear(),
    currentMonth = today.getMonth();

  scheduler.restrictedDates = [
                new Date(currentYear, currentMonth, currentDate),
                new Date(currentYear, currentMonth, currentDate - 2),
                new Date(currentYear, currentMonth, currentDate + 2),
                new Date(currentYear, currentMonth, currentDate - 5),
                new Date(currentYear, currentMonth, currentDate + 5),
                new Date(currentYear, currentMonth, currentDate - 10),
                new Date(currentYear, currentMonth, currentDate + 10)
            ];
Demo
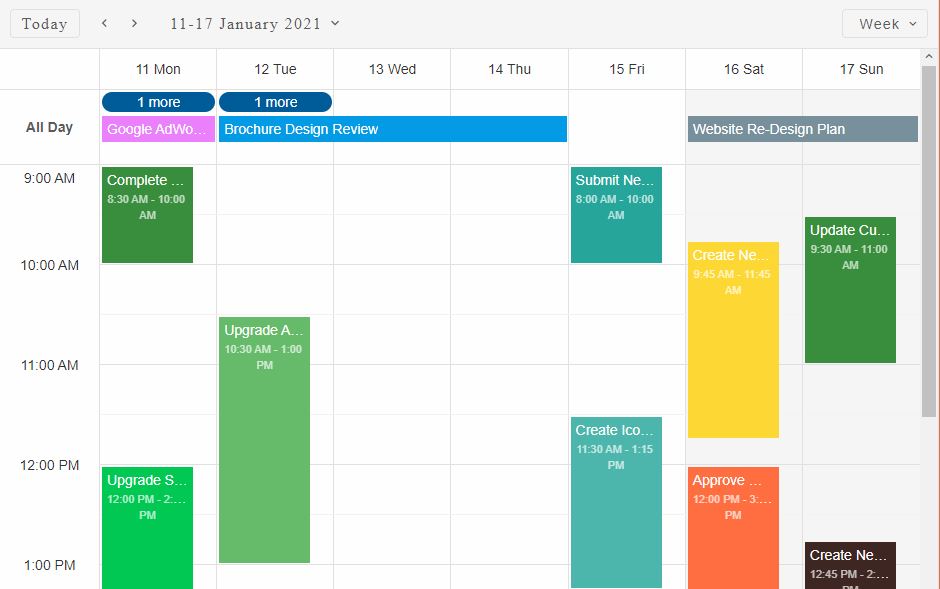
Nonworking Days
The nonworkingDays property allows to define an array of week days that are not working. This means that the cells that represent those days will be colored in a different background to indicate that they are nonworking. Days of the week start from 0 to 6, where 0 is Sunday and 6 is Saturday. The nonworking days can be hidden via the hideNonworkingWeekdays.
Here is how to set the nonworkingDays property dynamically:
scheduler.nonworkingDays = [0, 6];
By setting the nonworkingDays to 0 and 6 the cells that represent 'Saturday' and 'Sunday' will be colored in a darker background to indicate that they are nonworking.
Demo
Nonworking Hours
The nonworkingHours property is similar to nonworkingDays. It determines the hours of the day that will be marked as nonworking. The cells that represent those hours will be colored in a darker background to indicate that they are nonworking. The property accepts an array of hours from 0 to 23. It also accepts hour ranges as nested arrays. Ranges can be set like so:
scheduler.nonworkingHours = [[9, 12], 15];
The following code will make the hours from 9 to 12 (included) and 15 as nonwokring.
Demo
For AI tooling
Developer Quick Reference
Topic: scheduler-timetable Component: Scheduler Framework: JavaScript
Main methods: (none detected)
Common config keys: dataSource, views
Implementation Notes
Compatibility: Modern browsers / Web Components API access pattern: const component = document.querySelector(...) + component.method()
Lifecycle guidance: Initialize configuration first, then invoke imperative API when element is available in DOM.
Common pitfalls:
- Calling methods before element initialization.
- Reassigning large configuration partially without understanding merge behavior.
- Missing required module script import for component type.
Validation checklist:
- Ensure module scripts and CSS are loaded once.
- Keep data schema aligned with columns/series definitions.
- Verify method calls target initialized component instance.